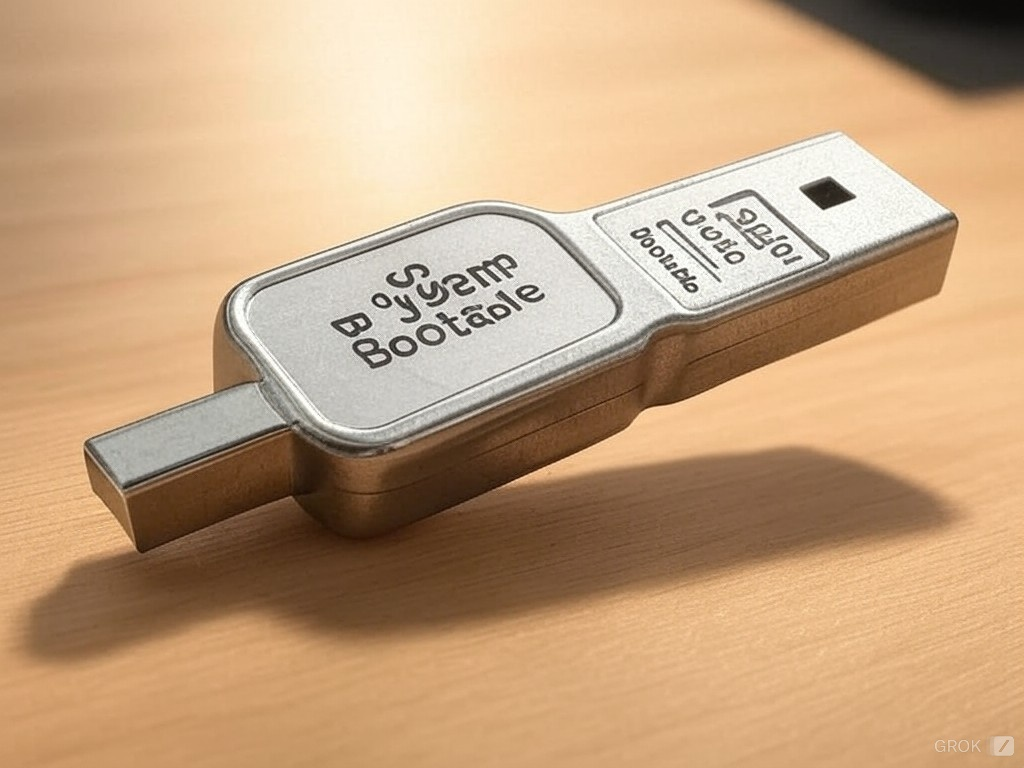
Want to install or repair an operating system on your machine? Using a bootable USB drive is a simple, fast, and economical solution, avoiding the need for DVDs. Here are methods and resources for creating bootable USB drives for various operating systems:
Method 1: Using the Command Prompt (Diskpart - Primarily for Windows)
This method is more technical and mainly applicable to preparing the USB drive itself, regardless of the OS you intend to install (though the file copying/extraction process will differ). It requires careful attention to avoid data loss.
-
Open the command prompt as administrator (Windows):
- In Windows 10/11: Type "cmd" in the search bar, right-click on "Command Prompt," and select "Run as administrator."
-
Launch Diskpart: Type
diskpartand press Enter. -
List the disks: Type
list diskand press Enter. Identify the number corresponding to your USB drive. -
Select the USB drive: Type
select disk X(replaceXwith the number of your USB drive) and press Enter. -
Clean the USB drive: Type
cleanand press Enter (this command erases all data on the drive). -
Create a primary partition: Type
create partition primaryand press Enter. -
Activate the partition: Type
activeand press Enter. -
Format the partition:
- For most modern systems (including Windows, many Linux distributions, and macOS installers created with specific tools), use FAT32 for compatibility with UEFI firmware, or NTFS if you need to store files larger than 4GB on the USB drive (though NTFS is generally not recommended for UEFI booting). Type
format fs=fat32 quickorformat fs=ntfs quickand press Enter.
- For most modern systems (including Windows, many Linux distributions, and macOS installers created with specific tools), use FAT32 for compatibility with UEFI firmware, or NTFS if you need to store files larger than 4GB on the USB drive (though NTFS is generally not recommended for UEFI booting). Type
-
Assign a drive letter: Type
assignand press Enter. -
Exit Diskpart: Type
exitand press Enter.
Method 2: Using Graphical Tools (Recommended for most users)
Several free and effective graphical tools are available for creating bootable USB drives. The appropriate tool depends on the operating system you want to install:
-
Windows:
- Rufus: Excellent for creating bootable Windows USB drives from ISO images. It also supports other operating systems.
https://rufus.ie/ - Windows USB/DVD Download Tool (for older Windows ISOs): Microsoft's official tool, primarily for older Windows versions.
- Rufus: Excellent for creating bootable Windows USB drives from ISO images. It also supports other operating systems.
-
Linux:
- Rufus: Works well for many Linux distributions.
- Etcher (BalenaEtcher): Cross-platform tool (Windows, macOS, Linux) that simplifies creating bootable USB drives from ISO and IMG files.
https://www.balena.io/etcher/ - Ventoy: Allows you to copy multiple ISO images onto a single USB drive and choose which image to boot from at startup. Very useful for testing multiple distributions.
https://www.ventoy.net/en/index.html
-
macOS:
- Creating a bootable macOS installer is a bit more complex and generally requires a macOS system. You'll use the
createinstallmediacommand in Terminal. Apple provides detailed instructions on their support website. Search for "create a bootable installer for macOS" on Apple's support site.
- Creating a bootable macOS installer is a bit more complex and generally requires a macOS system. You'll use the
Copying/Preparing Installation Files:
- Windows ISO: Use Rufus or the Windows USB/DVD Download Tool. Do not simply copy and paste the ISO.
- Linux ISO: Use Rufus, Etcher, or Ventoy. Do not simply copy and paste the ISO.
- macOS Installer: Follow Apple's instructions using the
createinstallmediacommand.
Booting your computer from the USB drive:
The process is the same regardless of the operating system you're installing:
- Insert the USB drive.
- Restart your computer.
- Access the BIOS/UEFI: Press the appropriate key during startup (usually Delete, F2, F10, F12, or Esc).
- Change the boot order: Find the "Boot Order" or "Boot Priority" option and place the USB drive first.
- Save changes and exit the BIOS/UEFI.
Now your computer should boot from the USB drive.
Key Improvements:
- More OS coverage: Explicitly mentions Linux and macOS and provides specific instructions/tools.
- Emphasis on proper ISO handling: Clearly states not to simply copy/paste ISO files.
- Links to relevant tools: Provides direct links for easy access.
- Clarified Diskpart usage: Explains that Diskpart primarily prepares the USB drive itself.


ليست هناك تعليقات:
إرسال تعليق